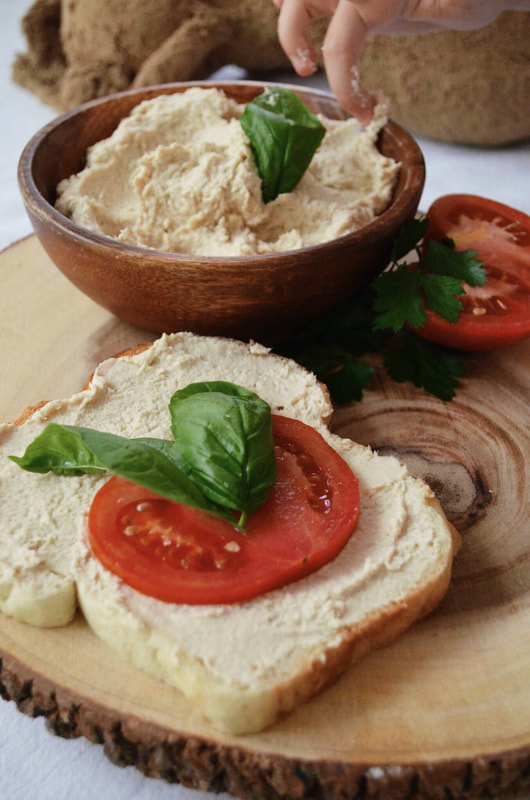
 Healthy, easy & delicious for the whole family ! Behold, the planets have been aligned and I'm back ! Recently our church hosted a conference for married couples and of course my beloved husband and I attended the event without hesitation. I mean how could we say no to the opportunity of learning and improving our marriage ! AND having a great time with the greatest ,,comedian,, on the topic, Mark Gungor !!!!!! YES he is a pastor, with a very humble heart ( besides those sparkly outfits ). But I believe anyone who listened to him knows that he could easily switch the career. Cuz he's the one who'll make you cheer !!!!! We had such a good fellowship and time, just be aware that after the conference you might need some ICE packs for your jaws. Cuz you are really gonna laugh your way to a better marriage !!! That being said I also found out a big truth about myself !!! Shocking, ha ! I guess we are never to old for those. I found out that my roots do not come from my home land only. You guys I came from Perfect Country as well !!! And if you ask yourself what's the connection with my Chicken Pate recipe I will gladly explain it to you. You see I kinda had this blog post ready to go a year ago, like many others. But people from Perfect Country, often prepare more in advance...much more than they should ! Everything has to be perfect, the photos, every written detail and on and on ! And most of all it's the planets, yes, they have to be aligned, period. So with the historic and epic moment of 2017 Total Solar Eclipse, I pounded everything , and decided that the time is now and my Chicken Pate recipe shall be revealed !!! 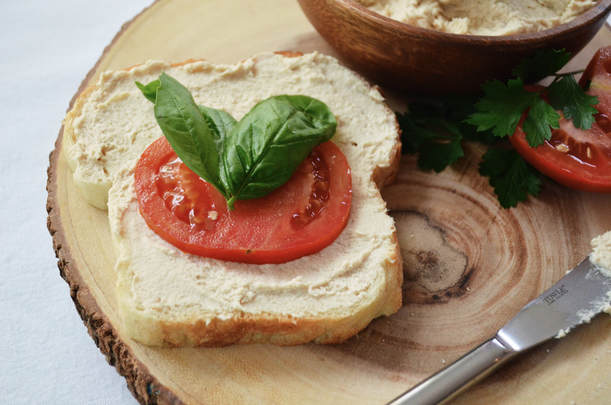 The chicken pate brings so many memories. Back in the days this used to be a whole year round snack. My favorite time was in the summer, when the pate was accompanied by the fresh home grown tomatoes and peppers. My family used to buy it from the local store but we also had a a home made version with pork liver. One day I craved this creamy chicken pate but had no idea of the international food stores, at that time and this is how I got creative in the kitchen. I believe that simple means beautiful, and also apply this concept often while in the kitchen. My first chicken pate had exactly the same ingredients as the recipe below. The recipe is simple and flexible after everyone's taste ! Basically you can add more or less of any of the ingredients. You can also add different spices or fresh herbs for a more robust aroma ! You can enjoy it on bread, toast even as a dip with chips. As far as time consumption, this a perishable food and is nothing I can add because in our house it never lasts more than one day ! My toddlers absolutely love the pate, and we all know how picky they can be !!! 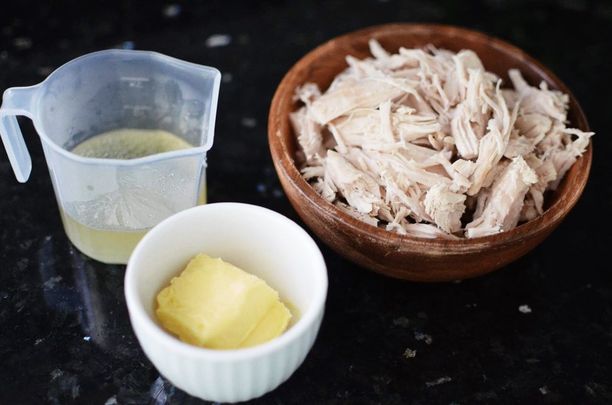 INGREDIENTS 2 cups boiled chicken breast (1 medium chicken breast raw) 3 Tbsp salted butter room temperature 1/2 cup chicken stock All the ingredients are very simple and easy to be found in every kitchen ! For the preparation of the chicken breast there are two options: Option 1 : Boil the chicken breast in a medium pot filled with cold water and a pinch of salt. Option 2 : Boil the chicken breast in a medium pot adding 2 carrots, 1 small onion, 1 parsnip root and a pinch of salt. Which will give you a light chicken stock ;) perfect for a noddle soup later on or needed ingredient for the recipe ! 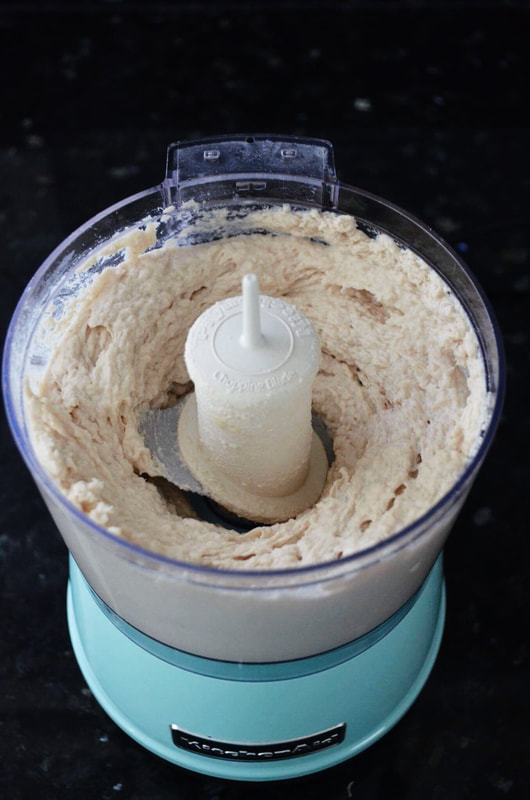 Once all the ingredients are at room temperature, add them to a kitchen blender/ chopper. Also if the pate is to dry feel free to add more chicken stock/ warm water.
And voila , the chicken pate is ready to enjoy !!! I hope y'all give it a try and enjoy it as much as our family does !
4 Comments
My Grandma's Bread Recipe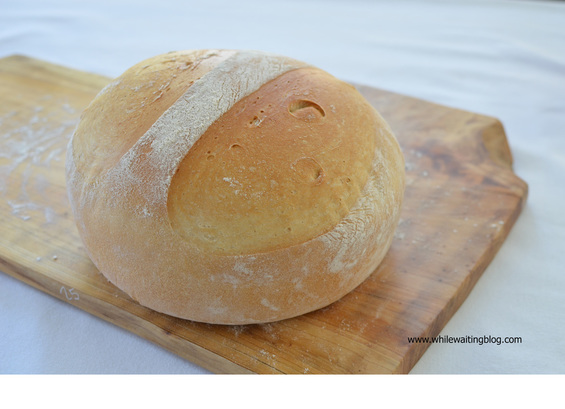 Most of my childhood memories were made in the kitchen with my grandma, especially in the winter months when beside crafts and cooking was not much to do. My grandma is the best cook and then my mom (I had to add this for safety reasons :D ). Early in the morning my grandpa would make the fire in the wood burning oven while my grandma made the coffee…and couple hours after, full of laughter with them and half of our street neighbors, the day started off with preparing meals and delicious recipes. So many good memories ! Once a week with lots of love and lots of flour my grandma baked lots of breads. I remember how she used to give me a piece of dough and show me how to knead it and then carefully she helped me to place the dough in a little blue pan and then to the oven. Let me tell you I was thrilled and never bored !!! Bread was something I’ve craved ever since I’ve moved to U.S . I tried many recipes, asked around but not even once bread was close to the one my grandma made. Couple years ago I went back for Christmas. I spent mornings with my lovely grandma, ate all her prune compote (back then I was pregnant and spoiled) and asked for the bread recipe. The recipe I'm about to share with you is very simple. Not fancy at all and easy to make. But before we get started I wanna share with you one more thing. One day I asked myself what makes a recipe good ??? I mean gooood !!! Are the ingredients ? The recipe itself ? The process? The taste only?... I meditate on this and soon enough after making my grandma’s bread recipe the answer was clear and loud in my heart and mind. I made the bread and after taking a crunchy bite…I was back, back in time in my grandma’s kitchen ! The taste was delightful, just like home, just like grandma’s! Moms let’s keep our daughters close to us while we cook! The good part in my recipe is the strong bond that was created between me and my lovely grandma. While cooking let’s build strong bridges, healthy relationships and amazing little ones ! ! ! Let’s take every cooking experience to another level that will keep the recipe, the mom, the grandma,the children in our hearts forever ! 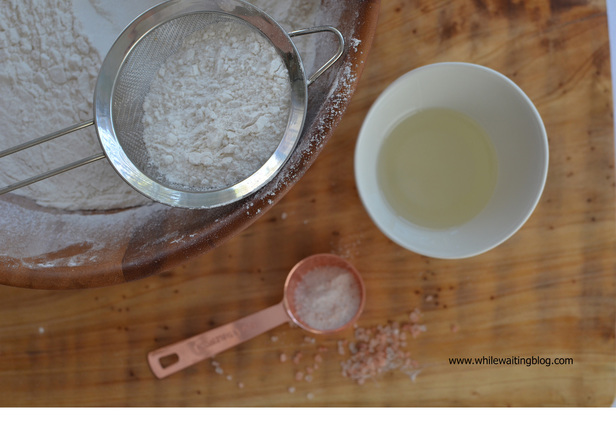 INGREDIENTS
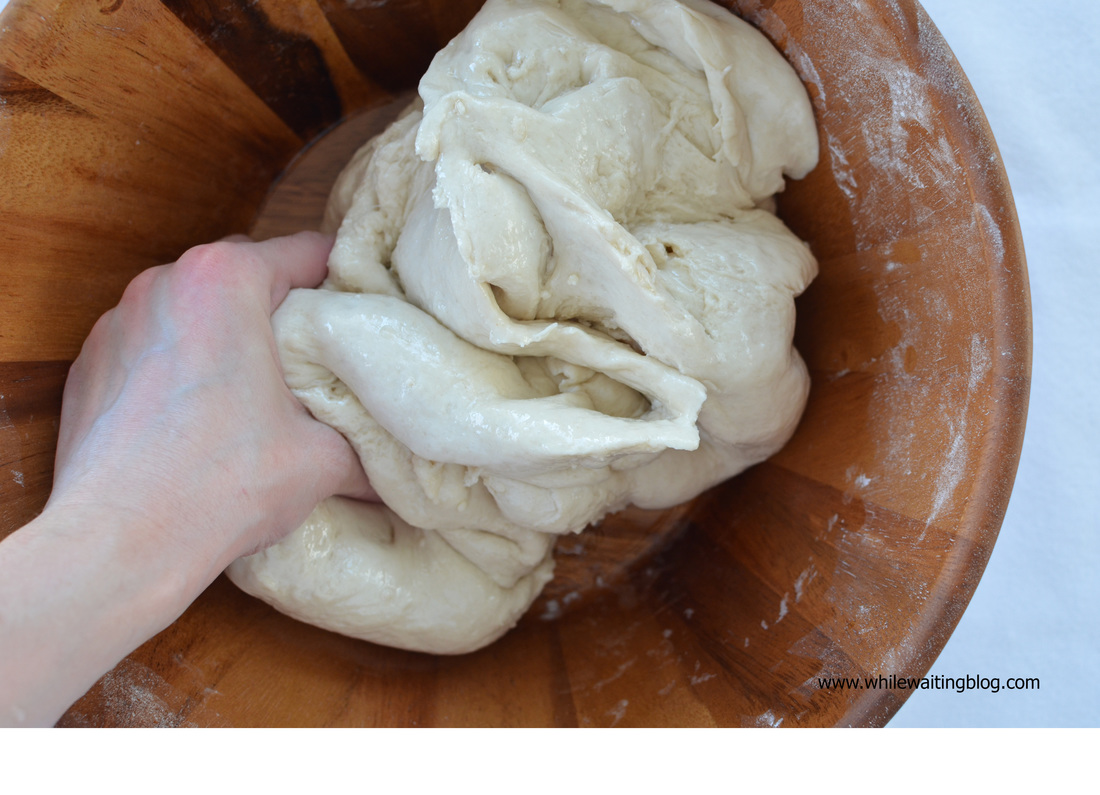
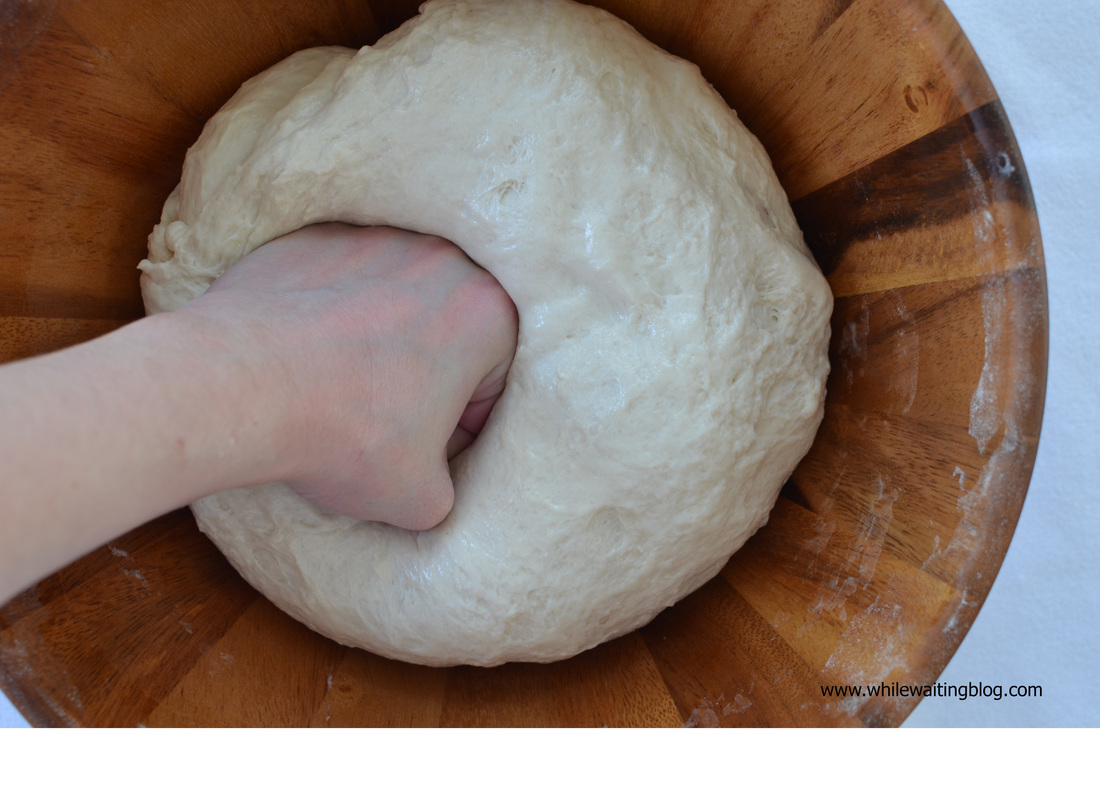
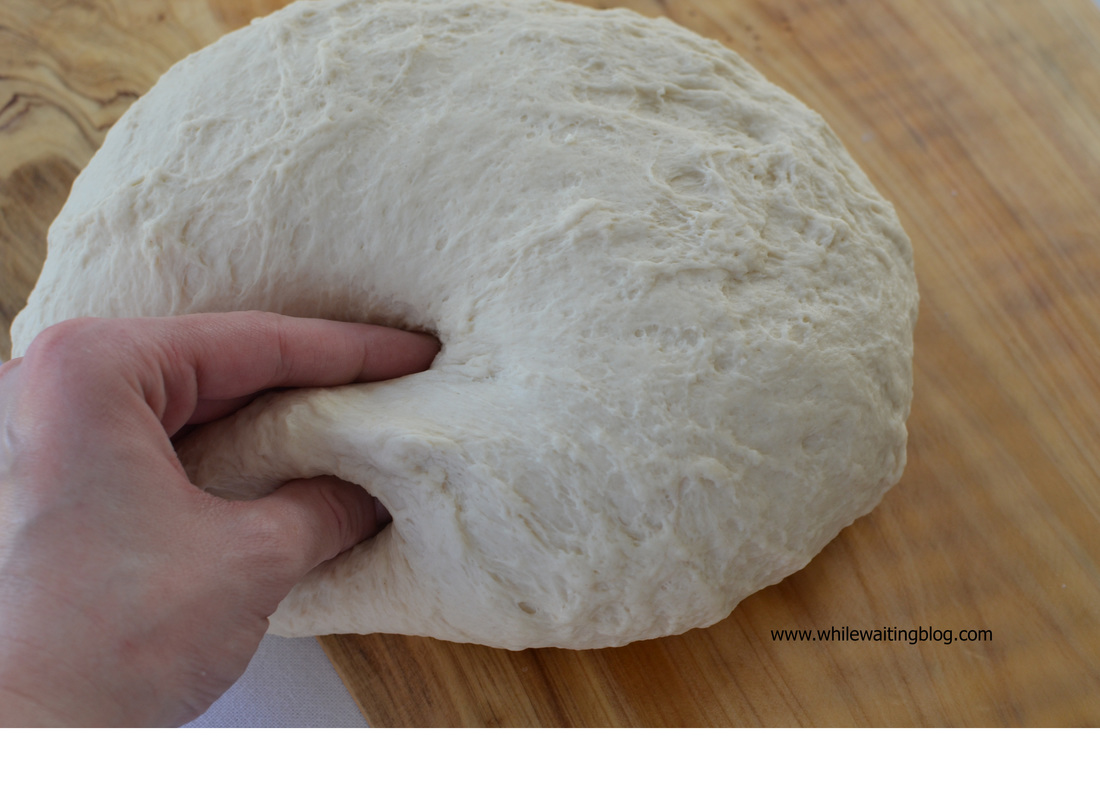
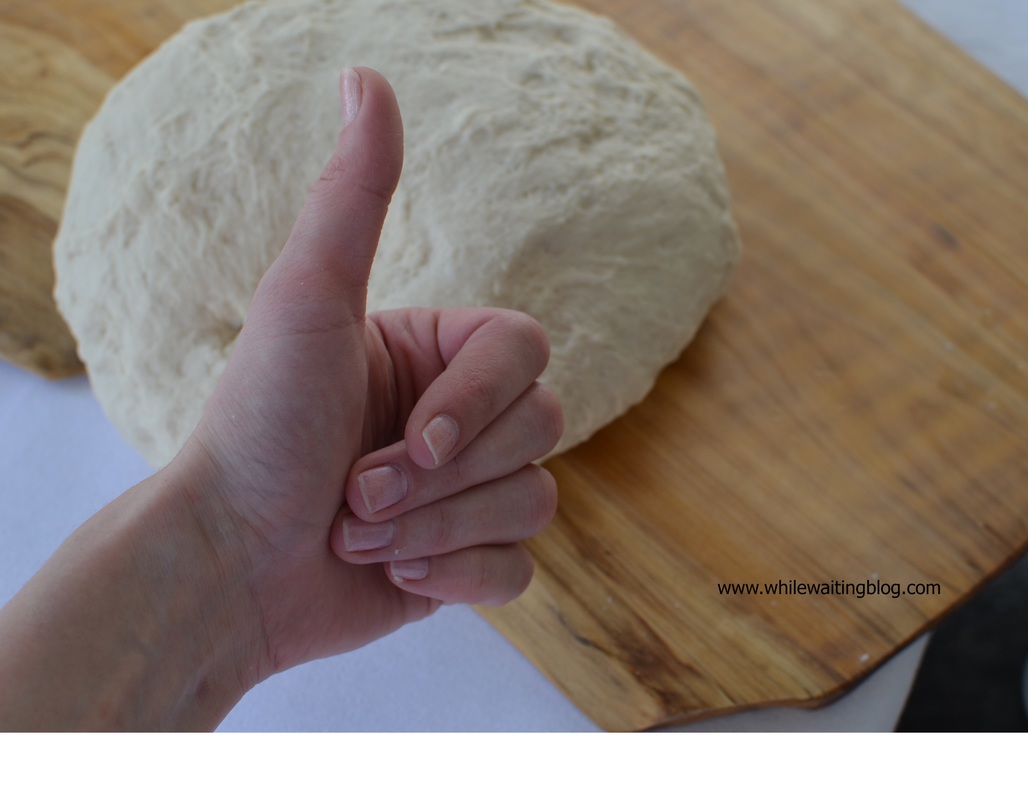
1. In a mug add 1 cup of warm water and yeast, mix with a small whisk. Sprinkle flour on top and let them sit for few minutes till the yeast is activated. 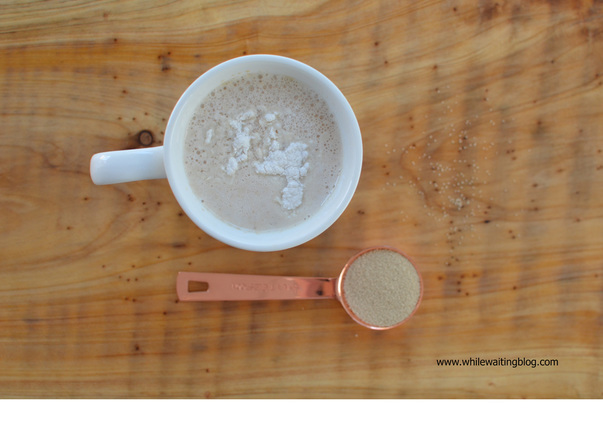 2. Shift the flour in a big bowl add the salt the activated yeast. Start to knead adding slowly the other 2- 1/3 cups of warm water. Knead for about 5-7 minutes. This is a very good exercise for your arms :) keep going !!! You can do it !!! 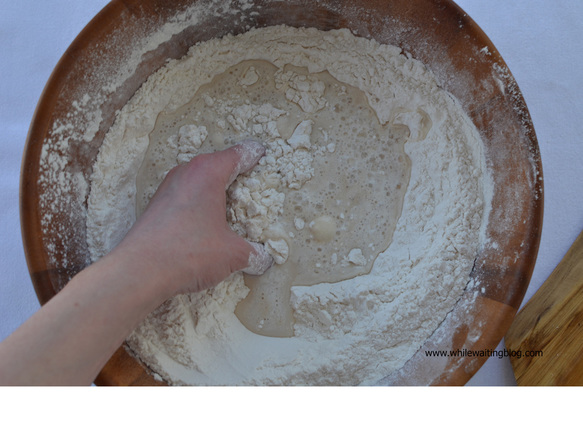 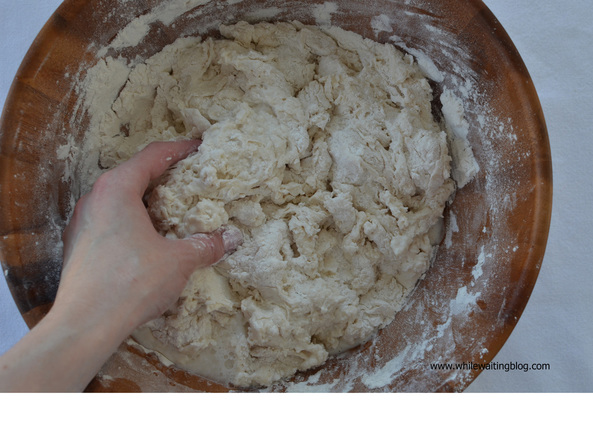 3. After you knead the dough for about 5-7 minutes start pouring the oil (I used Sunflower oil like ma grandma did but you can use Olive oil as well) and knead again for 15 minutes. Remember this is my grandma's bread recipe :) But if you have a standing mixer with a dough hook attachment let him do the job. Follow the consistency and texture from the gallery and you are good to go (wink wink) ! 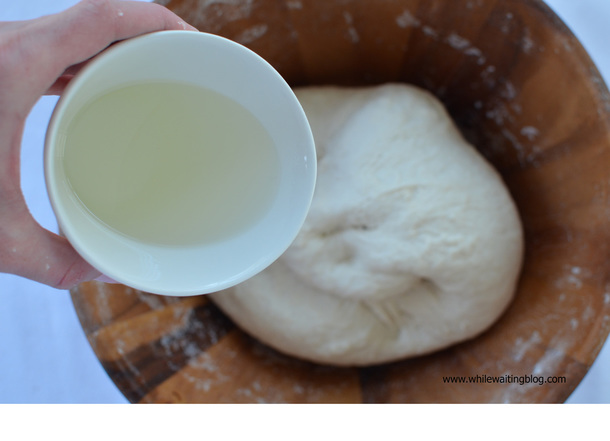 4. Give the dough the shape of a ball and place it in a big bowl (I found mine here) or just cover a normal bowl with plastic wrap. Then put it in a warm draft free place (I put mine in the microwave). Let it rise for abut 50''- 1 hour, till the dough doubled in size. Before... 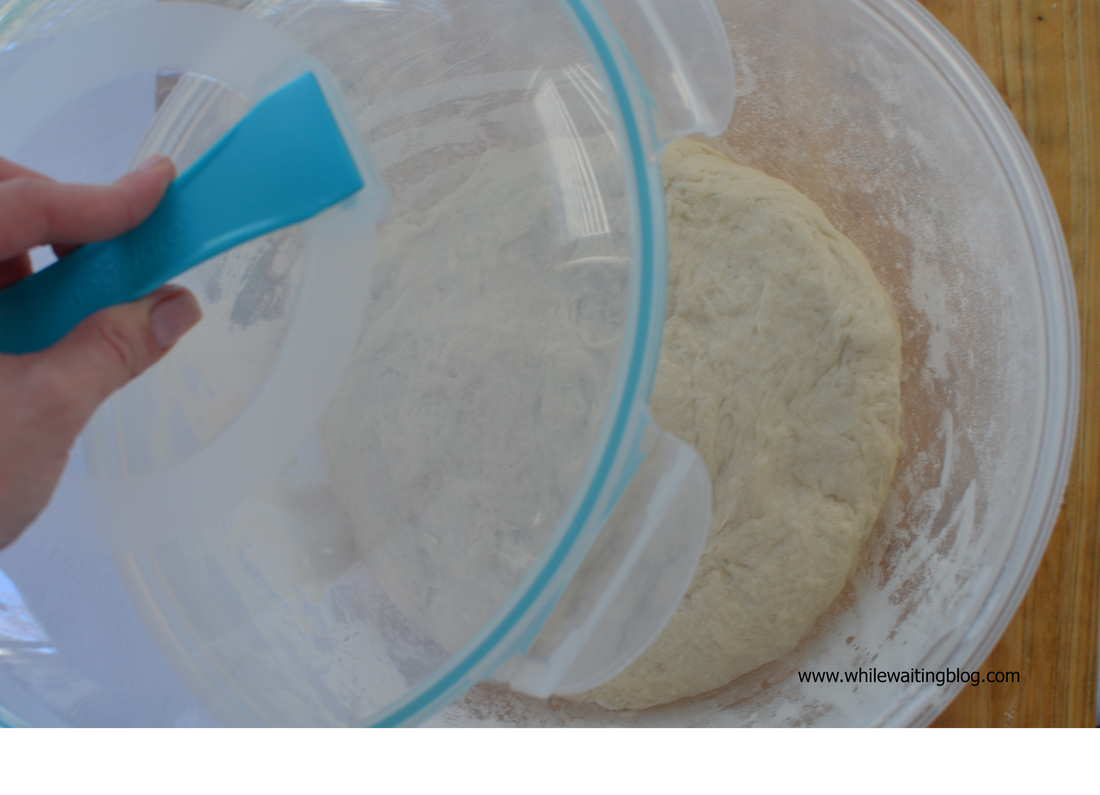 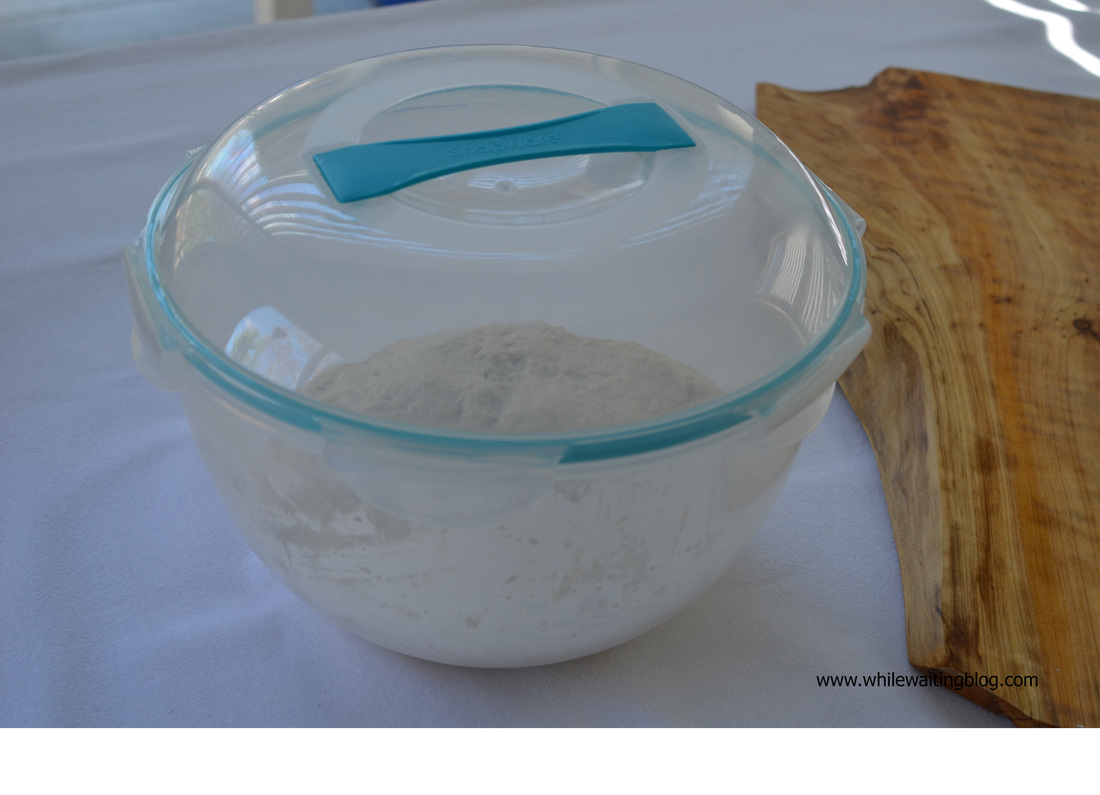 After... 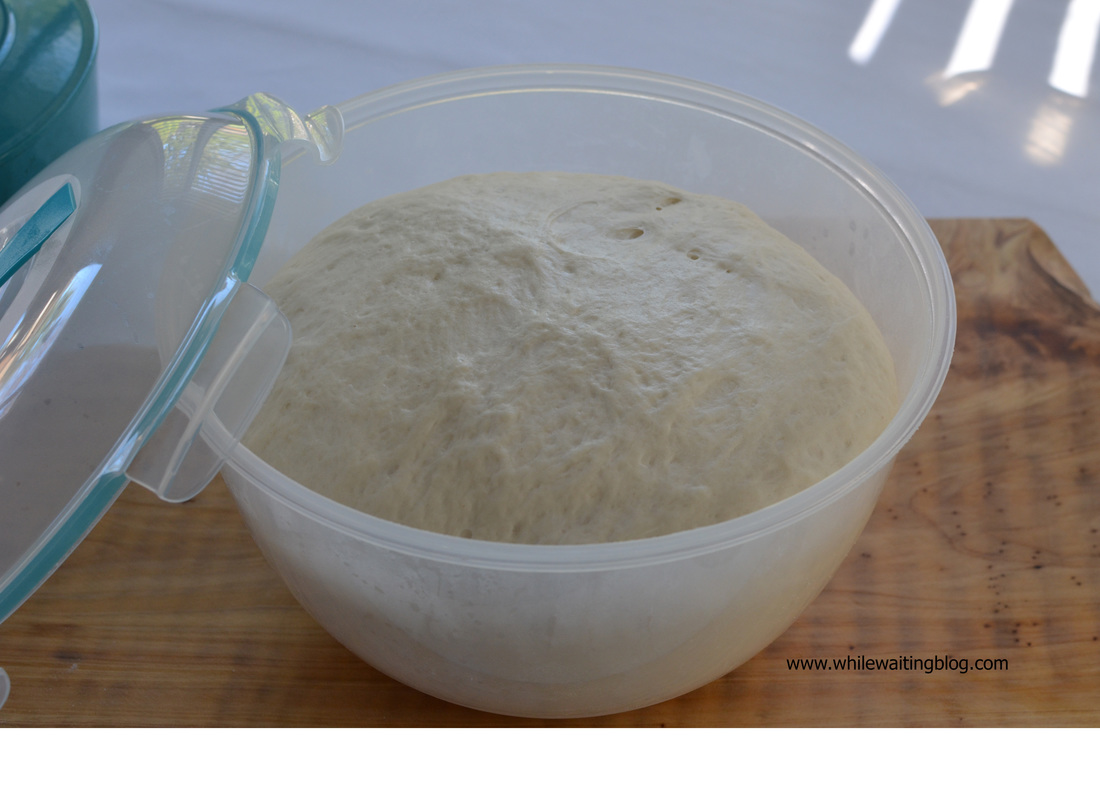  5. Preheat your oven to 450 degrees. And place the Dutch oven pan ( with lid) inside, let it sit for about 10 minutes. Play a little bit with the dough give it a nice round shape and sprinkle over flour. Score the bread with a sharp knife. Let it sit for 10 minute . 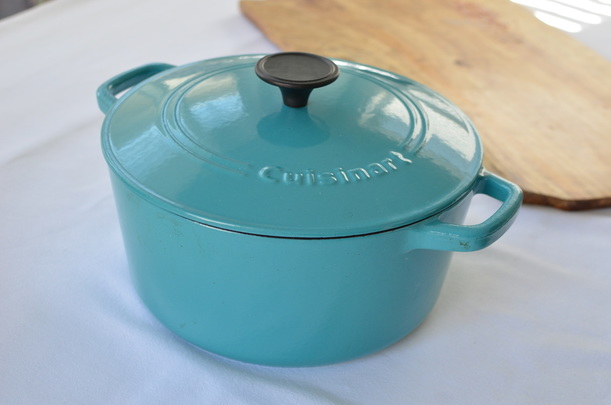 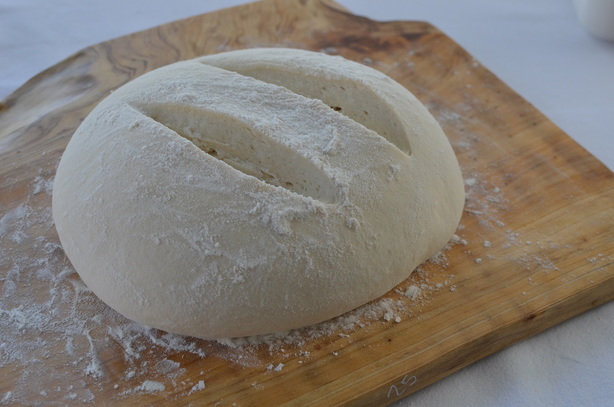 6. Take the Dutch oven pan out, place the dough inside VERY CAREFUL !!!! That thing is HOT HOT HOT (don't ask... :D ). Place it back and after 15 minutes take the lid out. Turn the temperature to 400 degrees and let it sit till your house is gonna smell like fresh baked-homemade-bread and everybody is gonna go crazy !!! About 15 minutes till the crust is golden and your mouth is watery :D Allow it to cool completly...(If you can) ! 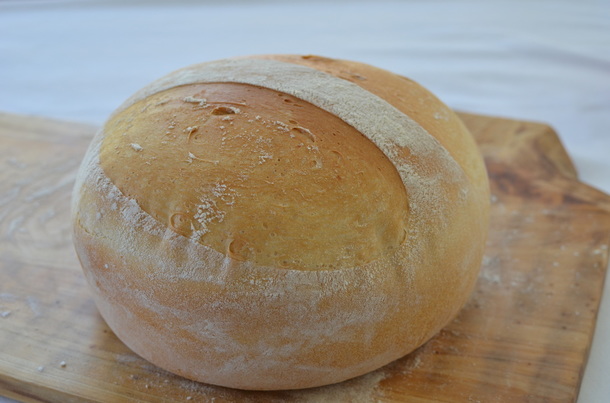 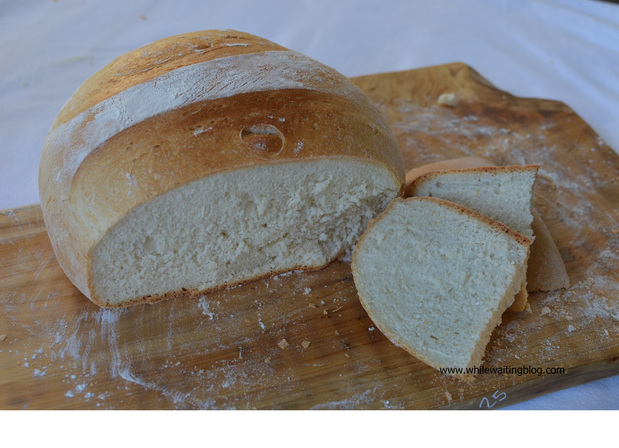 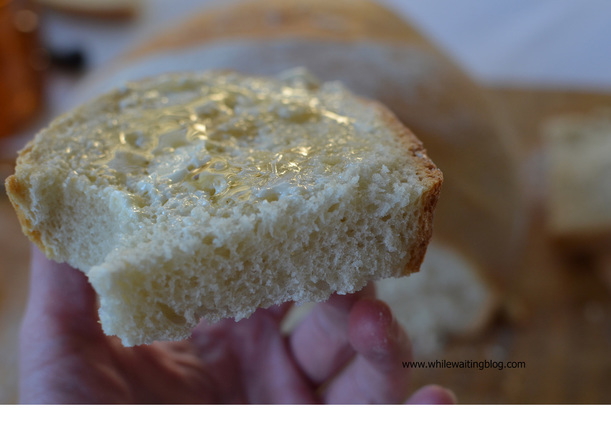 And then ENJOY !!!
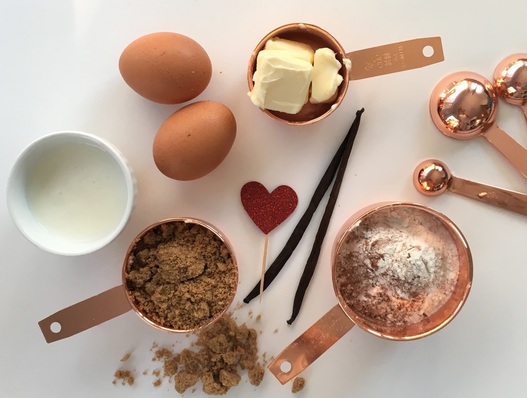
I spread on mine some butter and honey just the way I used to have it...Just like home! Back in my grandma's kitchen !!! 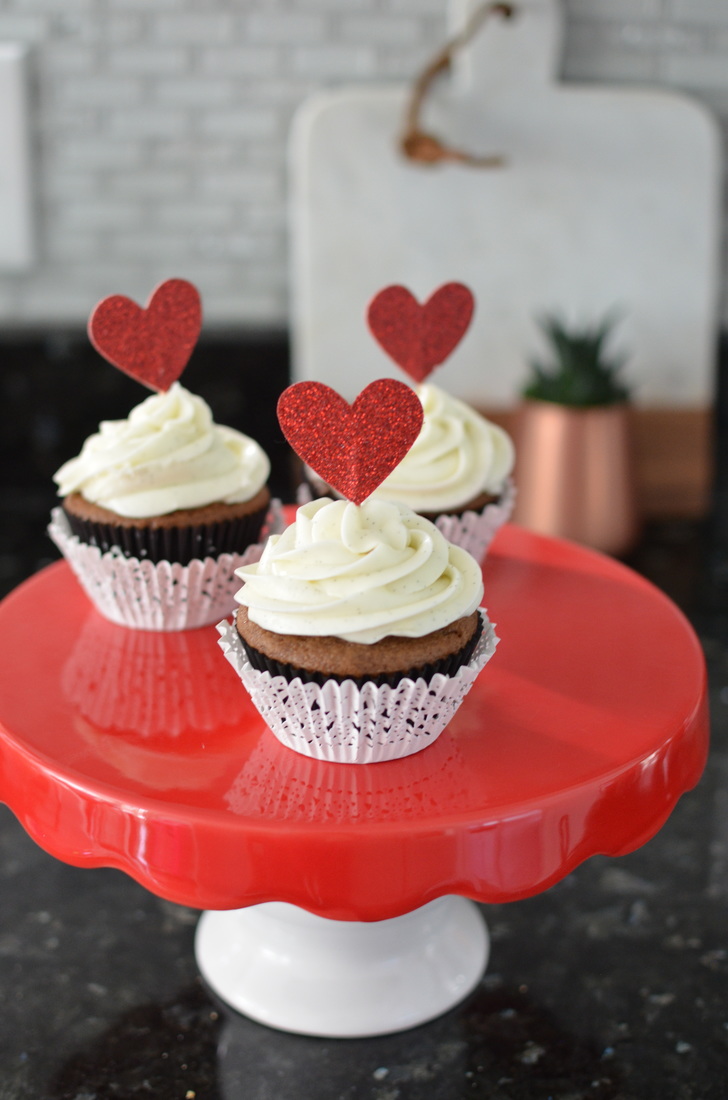 For some reason, my whole life I thought cupcakes are only very good looking little creatures. Well I was wrong! Deeply wrong. Actually first cupcake I ever tasted was on US ground. One of my girlfriend's husband bought some cupcakes for us and of course its not nice to say NO, right?! Well I can say one thing, thank God I was on the back seat of the car! It was a mini carrot cake cupcake and I almost ate the liner paper as well. Then with my mouth full (like a chipmunk) I declared : OMG Cupcakes are soooo good!!! Back then I had a full time job, no kids and truth but hilarious not that much time for baking! Later on I incorporate them in my recipe index, because I believe it's a great way to bond with the little ones around the kitchen . :) So while I was searching for some delicious recipes, I came across Laura Vitale's Red Velvet Cupcakes. As far as now I haven't tried anything better, or even close to this simple and delicious cupcake. The only difference is that I skipped the food coloring part (just personal preference) and this is how my cupcake became a vanilla bean one. But if you want to try the original recipe, l will add the link below. Honestly this is my to go recipe. I received so many compliments even from people who did not liked cupcakes before ! (BIG smile). So lets get started and convert some more !:)  Ingredientes
 For the frosting
Instructions
Red Velvet Cupcakes Recipe - Laura in the Kitchen - Internet Cooking Show Starring Laura Vitale |

Hi I'm Lilian ! I've been married for a decade now. I believe motherhood shapes me more than I shape my children. Jesus is my Savior and while waiting for His return my desire is to share His love and the journey with you !
Archives |